How To Accelerate Android App Development With NoxPlayer?
A Guide Towards a lightweight Android Emulator to develop your apps smoothly!

As a developer, I enjoy coding in Dart & Flutter.
THE PROBLEM
As a mobile developer, you always want to keep your laptop machine fit and updated. No matter how much RAM or Hard Disk you increase, there comes a time when the Android Emulator slows down the system performance by freezing all the working processes.
Imagine the embarrassment you would feel in such a condition, presenting your work before your seniors.
THE SOLUTION
It might be the right time you want to try out NoxPlayer¹, a lightweight Android Emulator. Below are some advantages you would receive after switching to Nox.
Root Level Acess
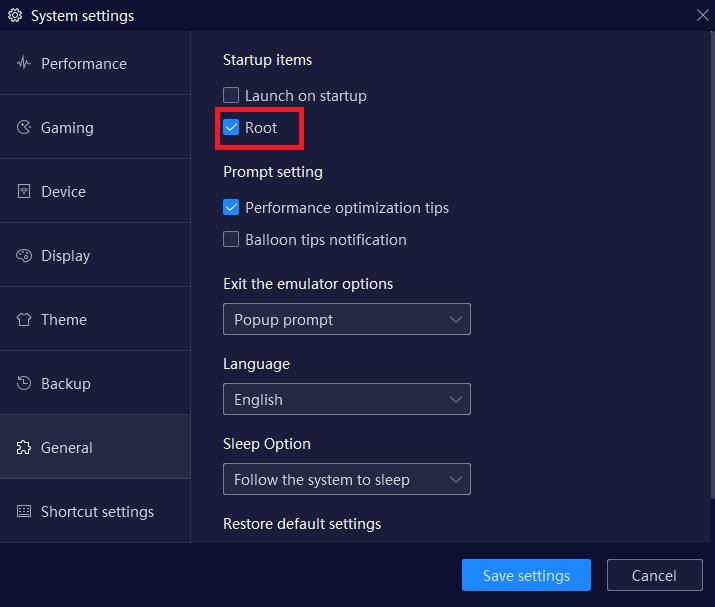
Open the NoxPlayer after a successful installation, click the ⚙️settings icon️ , and enable the Root option. It allows you a root-level access to explore the hidden directories and perform operations that you want to test as a superuser.
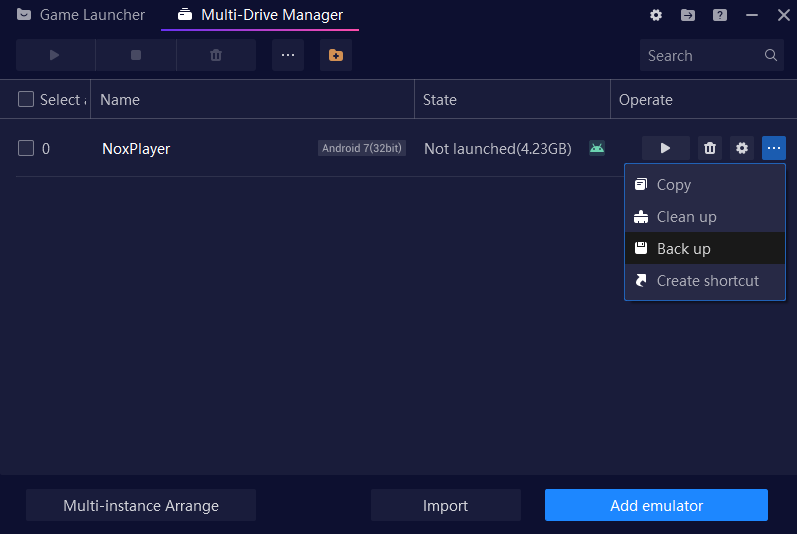
Manage & Synchronize Multiple Emulator Instances
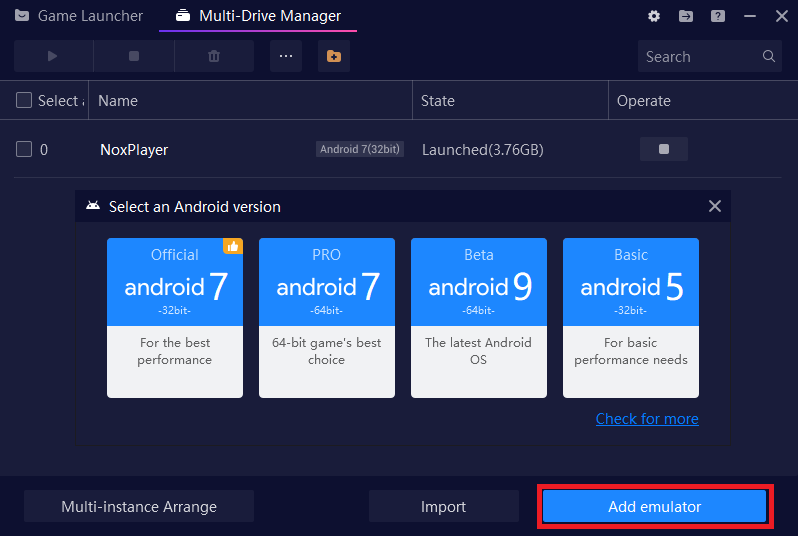
Using the Multi-Drive Manager, you can create multiple instances of the emulator. Click on the Add emulator button and select the Android version based on your requirements.
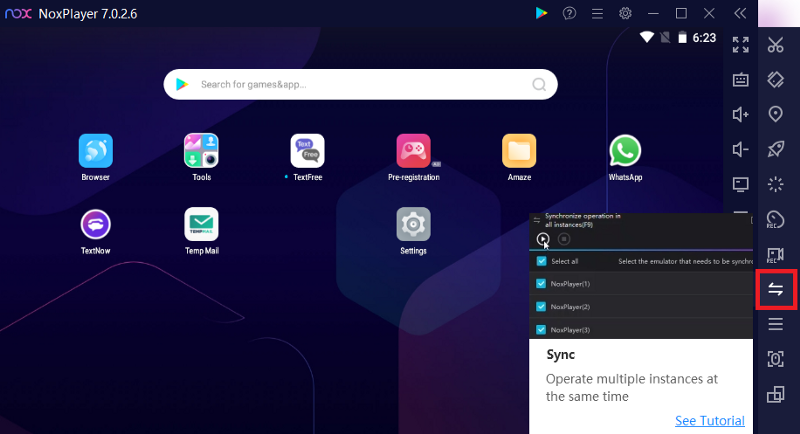
That’s not all! You can also synchronize² operations; once the mouse moves in a single instance, the same action would perform amongst all the emulator instances.
Enable FPS With Just A Click
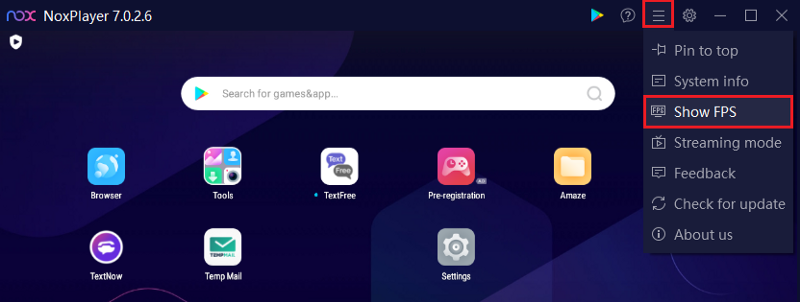
Most developers prefer to examine the app animations by enabling the Frame Per Second option. It helps them to optimize the source code during the development phase.
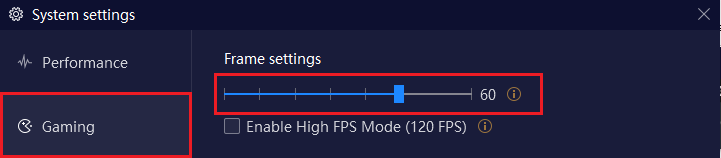
Open the System Settings, select the Gaming tab and play around with the Frame settings by adjusting the slider according to the needs.
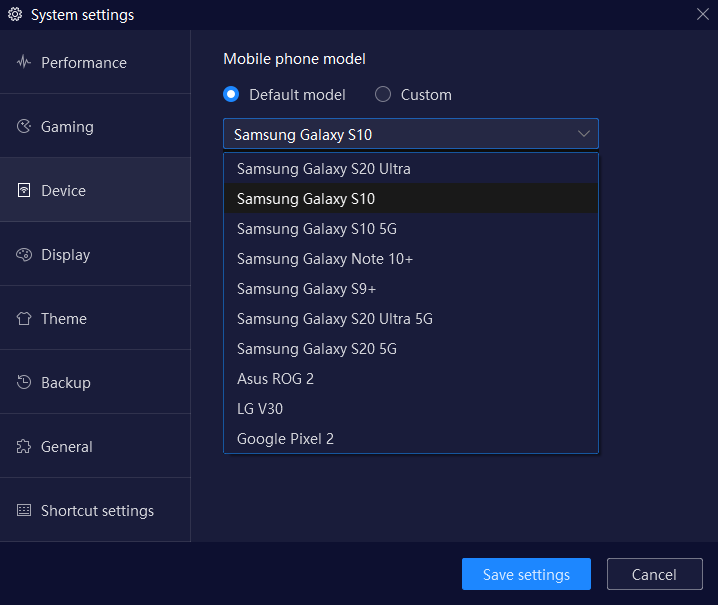
Change Default Device Settings
Don’t like the default interface, why not change the device settings? Navigate to the Device tab and select your favorite mobile phone model.
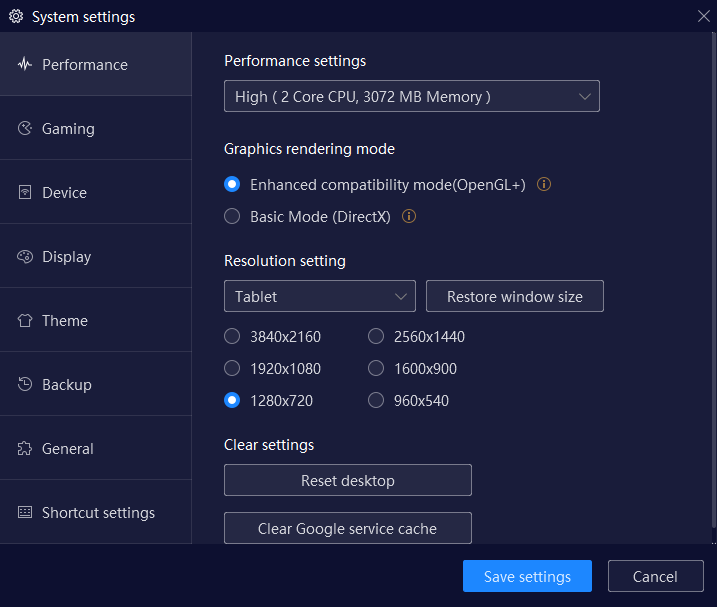
If you think the emulator is taking too much memory, tweak the performance settings. Choose your preferred Resolution Settings to switch from the default screen size.
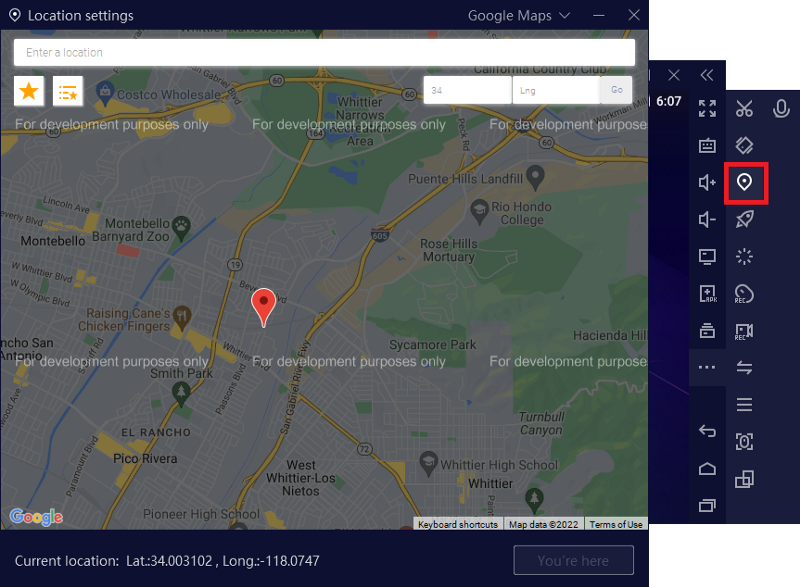
Simulate Mobile GPS
You can move your current virtual location by entering the place name or defining the Latitude & Longitude values. To access the location settings, click on the location icon. Another surprising feature is that you can switch between Google and Baidu Maps.
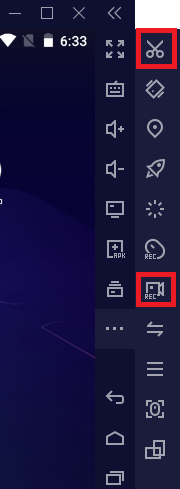
Screen Capture & Video Recording
The NoxPlayer allows you to record and save screenshots of your apps using the “PrintScrn” and “Video Recorder” features.
Play Around With Gestures & Orientation
Most of the time, it is necessary to examine the user experience once the orientation of the app changes. Nox provides the “Rotate” feature to swap between landscape and portrait mode.
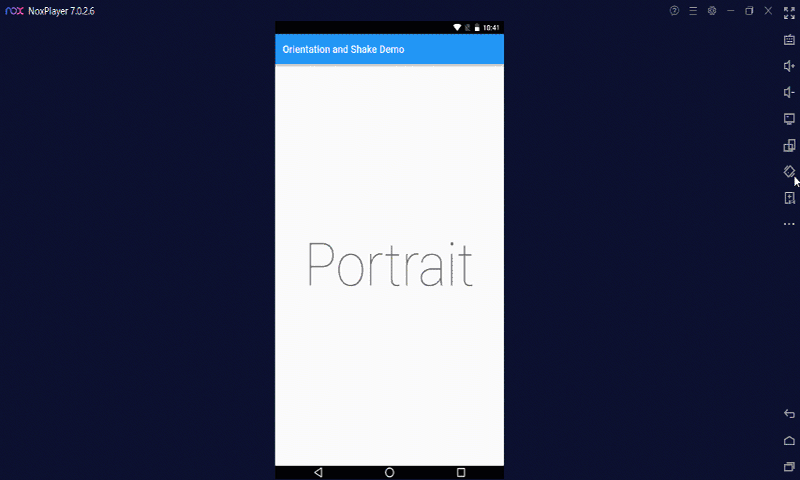
Demonstration of Gestures & Orientation in NoxPlayer.
Backup & Restore Data
Do you want to run multiple copies of the same emulator instance? Just open up the Multi-Drive Manager and select the Copy option.

You can also move your data using the backup and restore³ feature.
VS CODE + FLUTTER + NOX = HAPPY CODING!
Enough chit-chat; let’s get to the point. For this tutorial, you’ll need the below software installed.
- Android Studio with SDK & ADB (Skip the emulator installation)
- Visual Studio Code
Nox Player Emulator
After a successful installation, open the Nox Player and enable “USB Debugging⁴.”
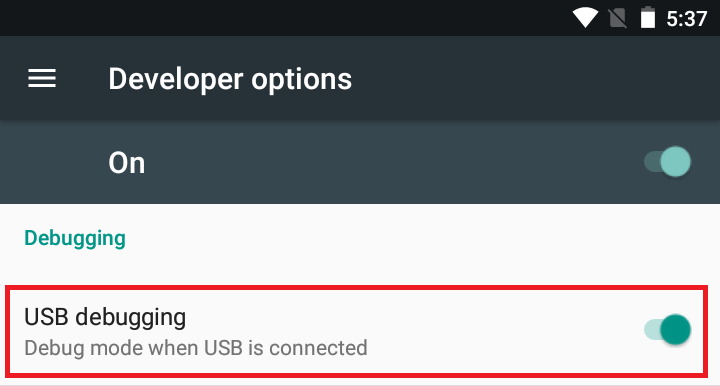
Navigation To The USB Debugging Option in Android.
2. Afterwards, close the NoxPlayer & navigate to C:\Program Files\Nox\bin and move the nox_adb.exe file to your desktop (just for the sake of backup).
3. From C:\Users\USER_NAME\AppData\Local\Android\Sdk\platform-tools copy the adb.exe file, paste it in C:\Program Files\Nox\bin and rename it to nox_adb.exe
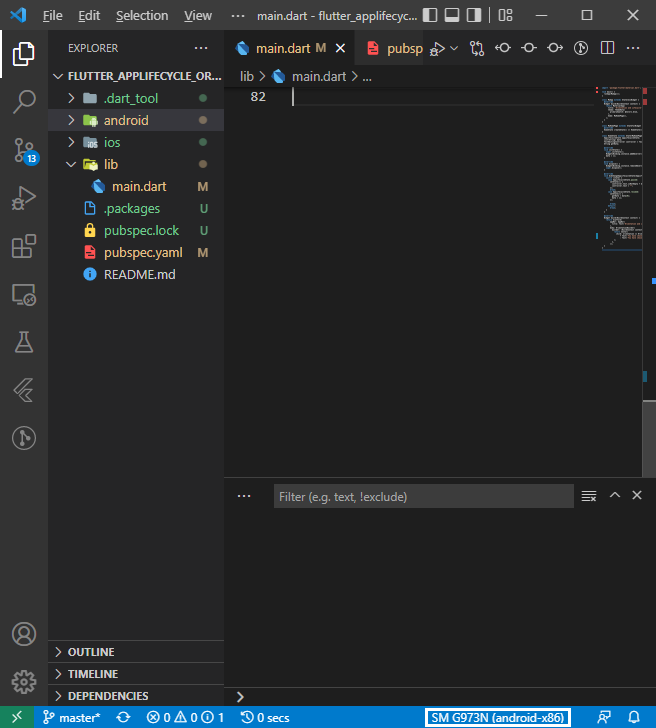
4. Run the Nox Emulator, and voila, you’ll see the emulated device in the VSCode status bar.
Try the below commands in the terminal in case you lose connection.
adb kill-server- Kills the Android Debug Bridge process.adb start-server- Initializes the Android Debug Bridge process.adb connect 127.0.0.1:62001- Connects with NoxPlayer.
CONCLUSION
I hope you enjoyed this lighter approach to developing android apps. Feel free to like the article and hit the reactions button.
REFERENCES
[1]: NoxPlayer — Fastest and Smoothest Android Emulator for PC & Mac https://www.bignox.com/
[2]:Synchronize the Operations | NoxPlayer FAQ
https://support.bignox.com/en/multi/sync
[3]: How to backup and restore your data in Nox App Player https://www.bignox.com/blog/how-to-backup-and-restore-your-data-in-nox-app-player/
[4]: Enabling USB Debugging | samsclass . info
https://tinyurl.com/259bhkh9


